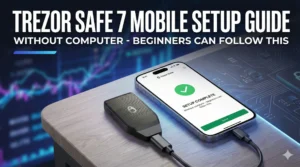
Trezor Safe 7 Mobile Setup Guide without Computer – Beginners Can Follow This
Forget everything you thought you knew about hardware wallets. If the idea of cables, computers, and complexity kept you from securing your crypto, meet your new best friend.
The Trezor Safe 7 changes the game. It’s the first Trezor ever with Bluetooth. This means you can do everything from your phone. No computer is needed at all.
This guide will walk you through the entire process. We’ll go from unboxing to making your first transaction. All you need is your Trezor Safe 7 and your smartphone. Let’s turn your phone into a secure crypto command center.
What Makes the Trezor Safe 7 Different?
Simply put, it sets you free. Old hardware wallets tether you to a desk. The Trezor Safe 7 cuts the cord. Bluetooth connectivity means true mobile management. You can check your portfolio, send, or receive crypto anywhere.
The core promise remains the same. Your private keys are generated and stored offline, in the device. They never touch your internet-connected phone. This is the gold standard of security. Now it’s just in your pocket.
What Do You Need Before Starting?
Getting started is straightforward. Here’s your checklist:
- Your Trezor Safe 7 device. I did share their holiday deals here
- A smartphone (iPhone or Android).
- The USB cable (in the box) to charge your device.
- A pen and the included backup card (or a piece of paper).
That’s it. You don’t use the cable to connect to your phone. It’s just for charging. Make sure your Trezor Safe 7 has a good charge before you begin.
Step 1: Download the App
First, grab your phone. Head to your app store. Search for “Trezor Suite” or directly visit this link and download it (available for android, apple, windows and linux). This is the official app. It’s your control panel for your Trezor Safe 7.
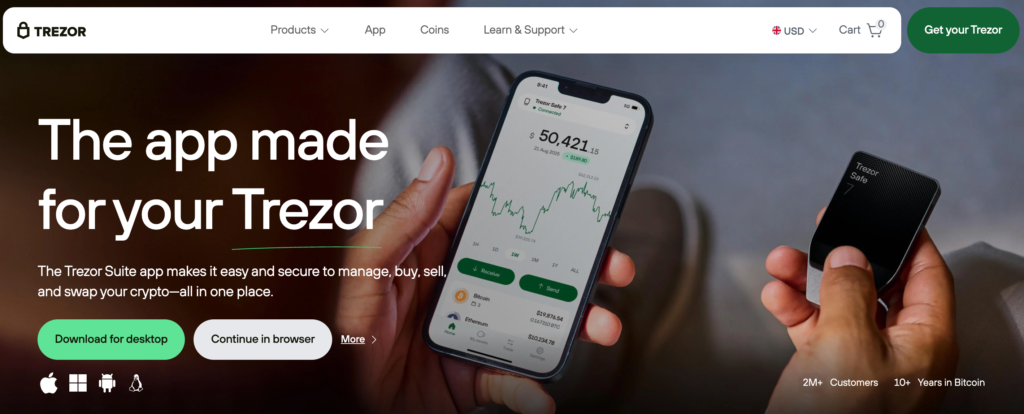
Open the Trezor Suite app once it’s installed. You’ll see a clean, welcome screen. Now, it’s time to wake up your hardware wallet.
Step 2: Power Up and Pair Your Trezor Safe 7
Press the button on the side of your Trezor Safe 7. It will turn on. Since it’s new, it won’t have a PIN set yet.
On the device screen, you might see a QR code. You can scan it to go to the app store. If you’ve already downloaded the app, you can dismiss this message.
Now, let’s connect them. On your Trezor Safe 7 screen, tap the bottom. This opens the settings. Look for the “Pair and Connect” option. Select “Pair a new device.”
Your Trezor Safe 7 will show its name. Remember this name. Now, switch to your phone.
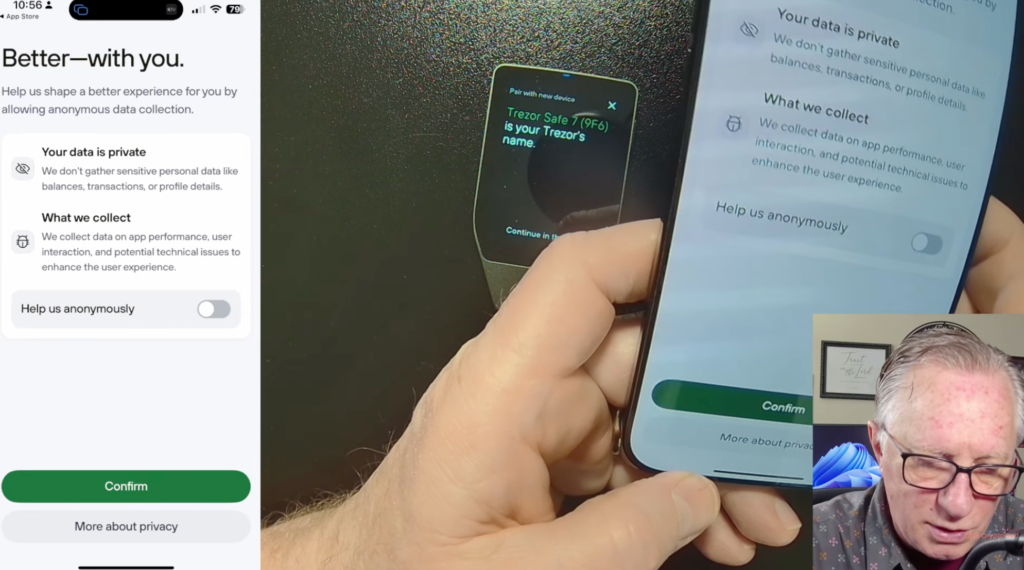
In the Trezor Suite app, tap “Get Started.” You’ll see some optional prompts. You can turn off data sharing if you prefer. You can enable Face ID or fingerprint login for the app. You can skip this for now if you want.
The app will ask for your location. Confirm this. Then comes the important part.
Tap “Connect.” Your phone will ask to use Bluetooth. Allow this. This is how your phone talks to your Trezor Safe 7.
The app will now search for your device. If your Trezor Safe 7 screen goes dark, just tap the button to wake it up. The app should find it. It will show the device name. Confirm it’s the same name you saw on the Trezor Safe 7 screen. Tap “Connect” on your phone.
Step 3: The Bluetooth Handshake
A security screen will pop up. It shows a number on your phone and on your Trezor Safe 7 screen. Check that these numbers match exactly. This proves you’re connecting to the right device.
Tap “Pair” on your phone. Then, tap “Pair” on your Trezor Safe 7. You’ve now created a secure Bluetooth link.
The app might warn you the device has been used if it’s been set up before. For a brand new Trezor Safe 7, you won’t see this. Tap “Get Started.”
It will ask to allow the connection. Then, it performs a “genuine check.” This is a critical security step. The app cryptographically verifies that your Trezor Safe 7 is real and not tampered with. Hit “Continue.” You can skip any tutorial screens.
Step 4: Creating Your New Wallet
Now, you’re ready to create your wallet. Tap “Create new wallet.” (If you were recovering an old wallet, you’d tap “Restore wallet” here. Yes, you can even restore from a backup phrase using just your phone!).
This next part is the most important step in owning any hardware wallet, including the Trezor Safe 7: the backup phrase.
Why is the Backup Phrase So Important?
Think of your Trezor Safe 7 as a super-secure safe. The backup phrase is the master key to that safe. If your Trezor Safe 7 is lost, stolen, or broken, this phrase is your only way back in. It restores all your wallets on a new device.
The Golden Rules of Your Backup Phrase:
- Never, ever digitize it. Do not take a photo. Do not type it into a note app. Do not store it in the cloud. Malicious software constantly scans for these.
- Never share it. No legitimate person or company will ever ask for it. Anyone who does is a scammer.
- Write it by hand on the provided card or sturdy paper.
- Keep it safe and private, like a valuable passport or deed.
The Trezor Safe 7 uses a modern 20-word “single share” backup (based on SLIP-39). It’s very secure. You’ll see other options like multi-share or legacy 12/24-word. For this guide, we’ll use the standard single-share. Tap “Continue.”
Get your pen and backup card ready. On your phone, tap “Hold to start.” Then, you’ll need to confirm on the Trezor Safe 7 itself by holding the button.
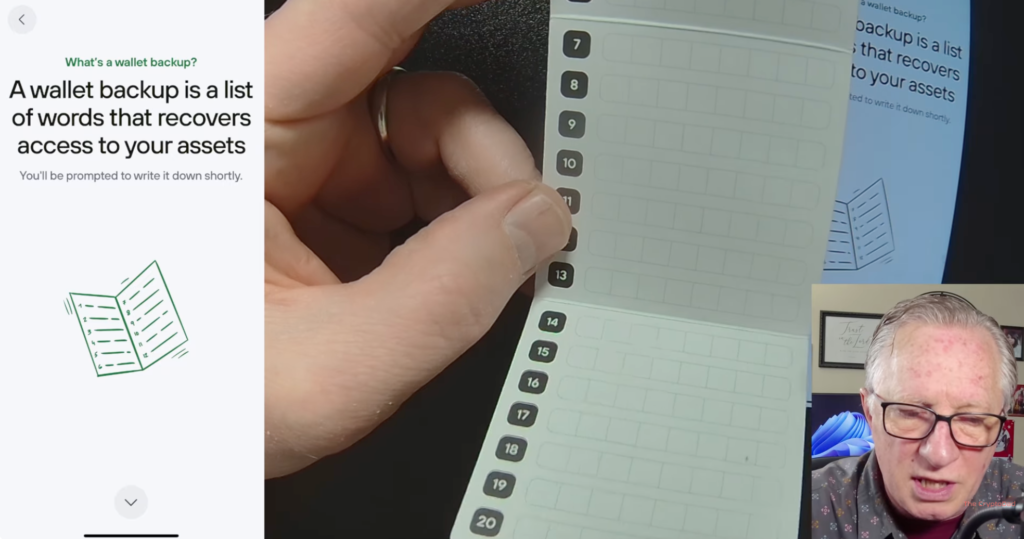
Step 5: Writing Down Your Recovery Words
Your Trezor Safe 7 has now generated a random, unique master private key. The screen will start showing your backup words, one by one.
Write them down in the exact order. The word number is in the top corner of the Trezor Safe 7 screen. Write word #1 in slot #1 on your card. Use the buttons on the device to move to the next word. Take your time. Double-check your handwriting.
After all 20 words are written, the Trezor Safe 7 will ask you to confirm. Hold the button to proceed.
Step 6: Verifying Your Backup
This is a crucial test. The Trezor Safe 7 will ask you to verify three of the words. It might say, “What is word #1?”
Look at your handwritten card. Find word #1. On the Trezor Safe 7 screen, you’ll see a list. Tap the correct word from your list.
It will then ask for another, like word #14. Again, check your card and tap the right word on the device. It does this for three random words. This ensures you wrote them down correctly and can read them.
Once you pass this check, you’re almost done! Tap “Continue” on your phone.
Step 7: Setting Your PIN
Your PIN is the first line of defense for your Trezor Safe 7 itself. It prevents someone from using the device if they find it.
I recommend an 8-digit PIN. It’s a great balance of security and usability. Don’t make it so complex you’ll forget it. The Trezor Safe 7 will have you enter it twice to confirm.
Remember: The backup phrase is your ultimate recovery. The PIN just locks the device.
Step 8: Enabling Coins
After the PIN is set, your wallet is active! The app will now ask which cryptocurrencies you want to manage.
You can enable just Bitcoin, or tap to enable many others like Ethereum, Litecoin, etc. This doesn’t create separate wallets. All these accounts are derived from that single master key you just backed up. Choose the ones you plan to use. You can always add more later.
Tap “Confirm.” Your Trezor Safe 7 setup is complete! You’ll see your portfolio screen. At the top, it should say “Connected.”
Here is the detailed video instructions:
How Do I Actually Use My Trezor Safe 7?
Setup is one thing. Using it is where the fun begins. Let’s cover the two essential actions: receiving crypto and sending it.
How to Receive Crypto with Your Trezor Safe 7
Let’s say you want to move Bitcoin from an exchange (like Coinbase, Kraken, or Binance) to your secure Trezor Safe 7.
- In the Trezor Suite app, go to the account for the coin you want. Tap “Bitcoin.”
- Tap the “Receive” button.
- The app will tell you to verify the address on your device. Tap “Show full address.”
- LOOK AT YOUR TREZOR SAFE 7 SCREEN. The full receiving address will appear there. Check that it exactly matches the address beginning to show on your phone.
- Confirm it matches on your Trezor Safe 7.
- The full address will now appear on your phone. Tap to copy it.
- Go to your exchange app. Find the “Withdraw” or “Send” function for Bitcoin.
- Paste your Trezor Safe 7 address. Always send a small test amount first (like $10). This confirms everything works before sending larger sums.
- Confirm the withdrawal from the exchange.
Go back to your Trezor Suite app. You’ll see the transaction as “Pending.” This means the Bitcoin network has seen it but hasn’t fully confirmed it yet. The funds are in your wallet but not yet spendable. Once it says “Confirmed,” the balance is fully yours.
How to Send Crypto from Your Trezor Safe 7
Sending is where your Trezor Safe 7 proves its worth. The private key signs the transaction. It stays offline, in the device.
Let’s send some Bitcoin back to an exchange.
- Get the receiving address from your exchange. In your exchange app, find your Bitcoin deposit address. Copy it.
- In Trezor Suite, go to your Bitcoin account. Tap “Send.”
- Paste the exchange’s address.
- Enter the amount. For a test, send a small amount. You can tap “Send max” if you want.
- Tap “Continue.”
- You’ll choose a network fee. My advice: keep it at “Normal.” “Low” can cause long delays. “High” is often not worth the extra cost.
- Tap “Review and Sign.” Now, the action moves to your Trezor Safe 7.
Your device screen will wake up. It will ask for your PIN (if it was asleep). Enter it.
The Trezor Safe 7 will now show you the receiving address. VERIFY THIS CAREFULLY. Check the first and last few characters against the address you pasted. Scammers can malware to switch addresses in your clipboard.
If it’s correct, tap “Continue” on the device. It will show the amount and the network fee. Confirm everything.
Finally, “Hold to Sign.” The Trezor Safe 7 now signs the transaction with its offline private key.
Switch back to your phone. Tap “Send Transaction.” The app broadcasts the signed transaction to the network.
You’ll see it as a pending outgoing transaction. In a few minutes, it will be confirmed and arrive at its destination.
You’re in Control Now
That’s it. You’ve done it. You’ve set up your Trezor Safe 7 with just a phone. You’ve backed it up securely. You’ve learned to receive and send crypto.
The power of true self-custody is now in your hands—and your pocket. Your Trezor Safe 7 is your guardian. The app is your interface. Together, they make managing your crypto both simple and supremely secure.
Go ahead, explore the app. Check out the trade section (note: that involves third-parties and ID verification). But most importantly, rest easy knowing your crypto is no longer just on an exchange. It’s in a wallet you control, secured by the Trezor Safe 7. Welcome to the next level of crypto security.


Post Comment